Inaccurate measurements are a common cause of errors in any project, whether you are a trade professional or a serious hobbyist. These mistakes can lead to wasted materials, extra time spent on corrections, and ultimately, unsatisfactory results. Achieving precision relies heavily on selecting and correctly using the right measuring and marking tools.
Understanding the Importance of Accuracy
Precision in your work begins with reliable measurements. Even a slight deviation can compound over several steps, leading to significant problems later. Understanding the difference between precision and accuracy is helpful: precision refers to the consistency of repeated measurements, while accuracy refers to how close a measurement is to the true value. Ideally, you want both.
When undertaking any project, consider the level of tolerance required. For rough construction, a tape measure might suffice. For fine woodworking or metalwork, you will need tools that offer much greater precision, such as calipers or marking gauges.
Essential Measuring Tools for Your Toolkit
Your toolkit should include a range of measuring tools, each suited to different tasks and levels of precision. You can explore a wide selection of these on our Hand Tools page.
Tape Measures and Rulers
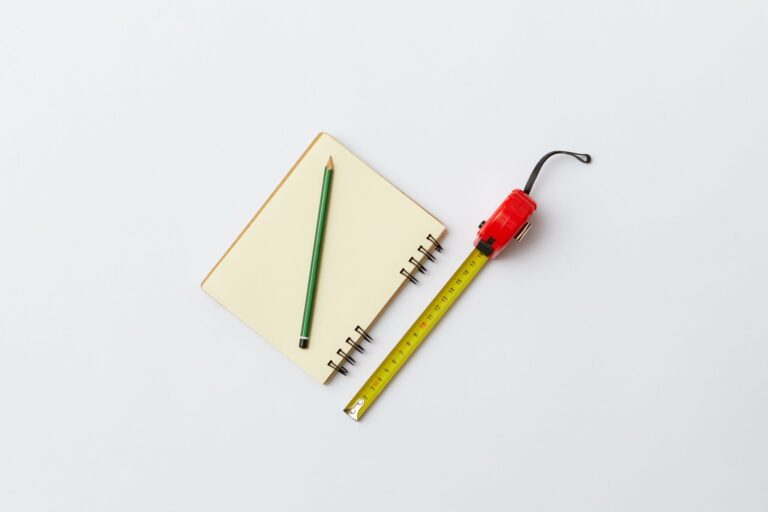
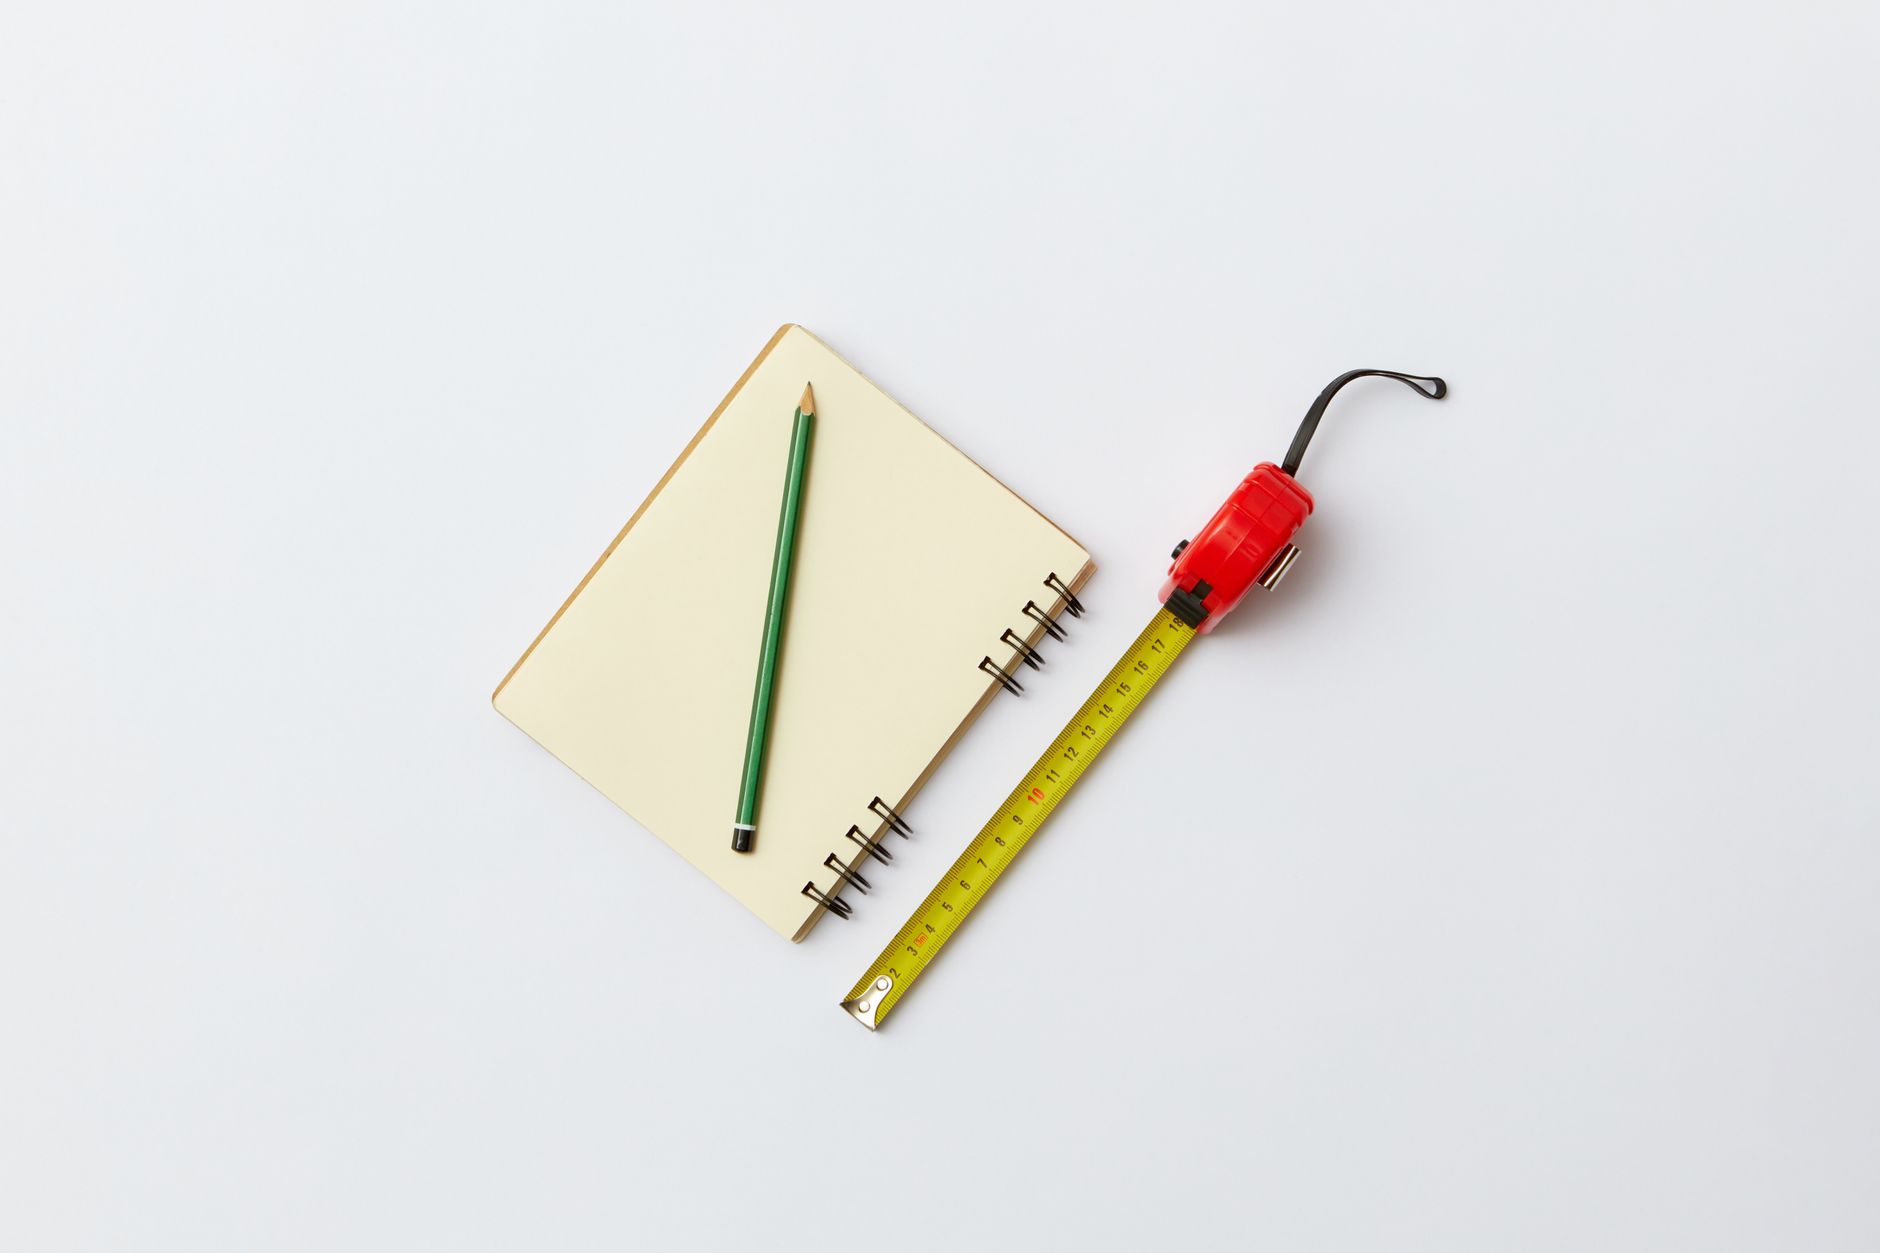
- Tape Measures: Essential for most projects, tape measures come in various lengths, typically from 3 metres (10 feet) to 8 metres (26 feet) or more. Look for models with a robust steel blade, clear metric and imperial markings, and a reliable lock mechanism. A sturdy hook at the end is crucial for accurate internal and external measurements. Some feature a magnetic tip for easier use on metal surfaces.
- Rulers: For shorter, more precise measurements, a steel ruler is invaluable. Sizes like 300 mm (12 inch) or 600 mm (24 inch) are common. Ensure the markings are etched or deeply printed to prevent wear and tear. A non-slip backing can help prevent movement during marking.
Squares and Angles
- Try Squares: Used for marking and checking 90-degree angles on smaller pieces of material. The blade is typically fixed to the stock.
- Combination Squares: More versatile than a try square, these feature an adjustable ruler and interchangeable heads (square, centre, and protractor). They are useful for checking squareness, marking depth, laying out angles, and finding the centre of round stock.
- Speed Squares: Often made from aluminium, these triangular squares are popular for their ease of use in marking cut lines and angles on timber, particularly for roofing and stair stringers. They typically include common angle markings.
Calipers and Gauges
- Vernier and Digital Calipers: For measurements requiring high precision, such as the thickness of a material, the diameter of a drill bit, or the depth of a hole, calipers are indispensable. Digital calipers offer easy-to-read displays and can often switch between metric and imperial units. Vernier calipers require more skill to read but are robust and do not rely on batteries.
- Marking Gauges: Used in woodworking to scribe a line parallel to an edge, ensuring consistent cuts or joinery. These tools are crucial for repeatable accuracy.
- Spirit Levels: Available in various lengths, spirit levels are used to check if a surface is perfectly horizontal (level) or vertical (plumb). Look for levels with clear, easy-to-read vials and a robust, often aluminium, frame. Torpedo levels are shorter and useful in confined spaces.
Selecting the Right Marking Tools
Once you have measured, you need to mark accurately. The choice of marking tool depends on the material and the required line precision.
- Pencils: A carpenter’s pencil is good for rough work on timber, leaving a broad, visible line. For finer work, a mechanical pencil with a thin lead or a sharp standard pencil is better, as a fine line is easier to cut to.
- Scribes: For marking on metal, hard plastics, or very hard timber, a hardened steel scribe is necessary. It creates a fine, permanent line that is less likely to rub off than a pencil mark.
- Awls: A pointed awl is excellent for marking precise starting points for drilling or for creating small indentations for screw placement.
- Chalk Lines: For marking long, straight lines over large distances, such as on walls or floors, a chalk line reel is the tool of choice. It uses a string coated in chalk powder, which leaves a temporary line when snapped against a surface.
Ensuring Accuracy in Practice
Having the right tools is only half the battle; using them correctly is just as important. Here are some practical checks to ensure accuracy:
- Always work in good light to clearly see your measurements and marks.
- Ensure your work surface is clean and free of debris that could interfere with tool placement.
- Read measurements at eye level to avoid parallax error, where your viewing angle distorts the perceived reading.
- Apply consistent, light pressure when marking. Heavy pressure can deform soft materials or widen your mark.
- Keep marking tools sharp. A dull pencil or scribe will produce a wide, inaccurate line.
- Regularly check your squares against a known straight edge or against each other to ensure they remain true.
- When measuring multiple identical pieces, consider creating a template or using a stop block on a saw to ensure consistency.
- For larger projects or workshop setups, consider investing in dedicated Workshop Equipment that can aid in accurate layout and cutting.
Choosing the Right Tool for the Task
Matching the tool to the job is key. For example, you would not use a tape measure to check the internal diameter of a pipe; a caliper would be far more appropriate. Similarly, a try square is perfect for checking a small wooden joint, but a large combination square or a builder’s square is needed for checking the squareness of a large frame or wall.
Always consider the material you are working with. A pencil mark on rough timber is fine, but on polished metal, a scribe is essential. The scale of your project also dictates tool choice; a short ruler is impractical for marking out a 2-metre sheet of plywood.
The Most Useful Takeaway
Investing in good quality measuring and marking tools, and consistently applying careful technique, will save you time, reduce waste, and improve the overall quality of your projects.